Friction story 02 · Grip & reach
Get a Better Hold
The jar is small. The negotiation with its lid has become a surprisingly large part of lunch.
Category guidance · Not medical advice or an individual accessibility assessment
One task, several kinds of effort
A stubborn lid looks like one problem. In practice, opening it may require stabilising the container, spreading your fingers, maintaining pressure and turning your wrist at the same time. An aid that changes only one of those demands may help a great deal, a little, or not at all.
Notice which part becomes difficult before choosing a product. Does your hand slide over the lid? Does the jar rotate on the counter? Is the lid too wide to hold? Does the movement cause discomfort even when nothing slips? “Stronger grip” is not a useful answer to every one of those questions.
Do not push through pain to test a gadget. Persistent or changing difficulties deserve advice from an appropriate clinician or occupational therapist. General information from the Arthritis Foundation or the NHS can help frame questions, but a product description is not an individual assessment.
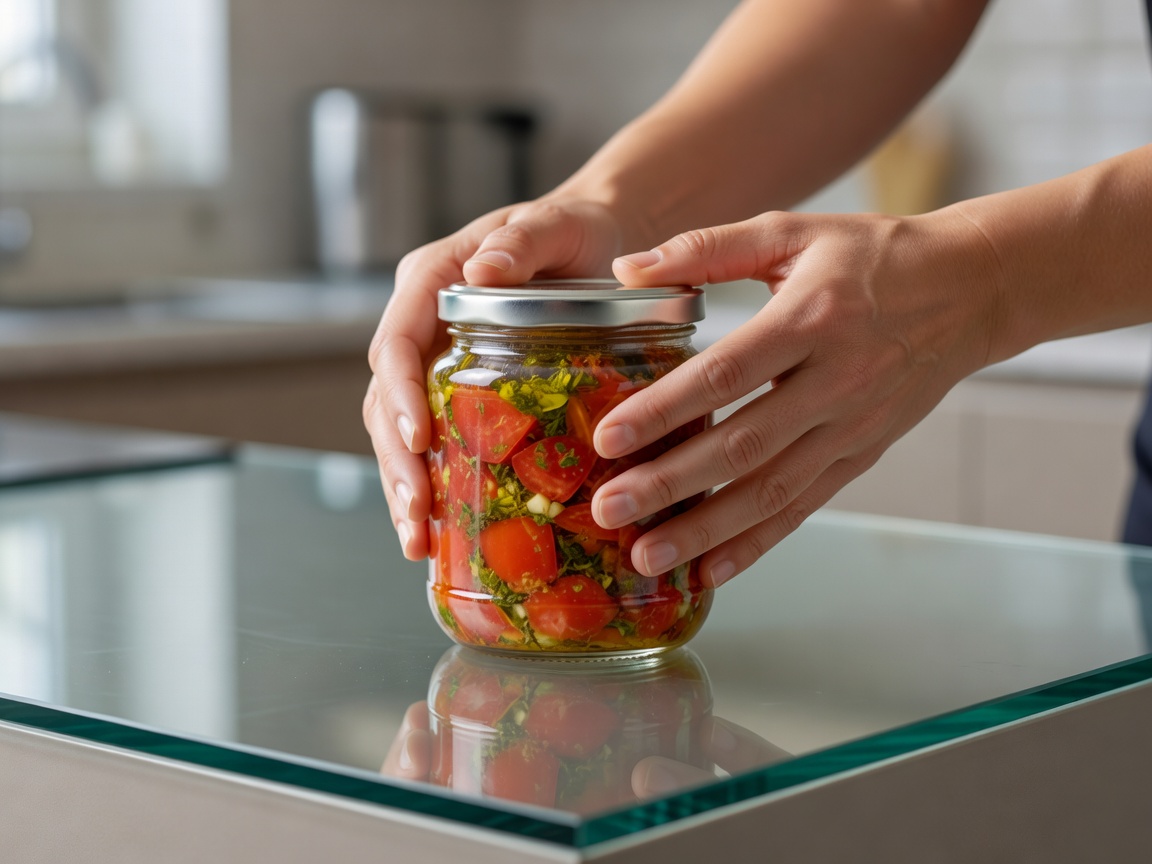
Attempt one: stop the slipping
A clean, purpose-suitable non-slip mat can help stabilise a container on a work surface. A flexible gripping pad can increase contact with a lid. These are small, quiet tools with no batteries, though their performance depends on material, moisture, cleanliness and the surfaces involved.
If you already own a suitable gripping pad, try that before buying another shape of essentially the same material. Keep the container stable and avoid improvised methods that introduce sharp edges or damage glass. Prying a lid with a knife is not a sensible comparison option.
Check how the pad is cleaned and dried. Grease and food residue can reduce its usefulness, while an item left damp in a drawer adds a different household problem. A thin pad may be easy to store but awkward to retrieve for someone with limited finger dexterity.
These are comparison questions, not instructions to continue an uncomfortable movement.
Attempt two: change the leverage
Handled jar openers can offer more leverage, but many require you to squeeze the handles together while turning. A longer handle does not remove that requirement. Check both the largest and smallest lid sizes it accommodates, and whether the container must still be held firmly with the other hand.
Under-cabinet openers keep a tool in a predictable place and may reduce some gripping demands. They also require suitable installation, clearance and a comfortable working height. A fixed product that is too high or tucked behind another appliance can make the task harder rather than easier.
Powered openers introduce their own sequence: positioning, activating, waiting, releasing and cleaning. Buttons may be small, mechanisms may be noisy, and batteries eventually need attention. Look for a clear stop procedure and follow the maker’s instructions. The label “automatic” should prompt a closer look at setup, not an assumption of independence.
A tool is accessible when its whole routine works for you, including getting it out of the drawer.
Attempt three: bring the object closer
A reacher can help retrieve a light item from a low shelf or floor. Its usefulness depends on handle force, jaw shape, length and the weight of the object. A longer tool increases reach but can also make the object feel harder to control at the far end.
Do not use an ordinary reacher as a walking aid, to support body weight, or to retrieve heavy, hot, sharp or fragile items overhead. Follow the stated load and use limits. A dropped tissue is a different task from a glass jar on a high shelf.
The no-purchase alternative often deserves first place: move frequently used items into a comfortable reach zone. Put lighter, less-used objects elsewhere. If a reacher is helpful, give it an accessible home of its own. A mobility aid stored behind the things you cannot reach is an unusually literal design mistake.
Read the small accessibility details
Check contrast between controls and the body of the tool. Can you tell the working end from the handle by touch? Can it be used with either hand? Is there a secure way to put it down halfway through the task? RNIB guidance can be a useful starting point when considering visibility and tactile information.
Look for return conditions that allow a reasonable assessment of comfort, while respecting hygiene restrictions. Measurements and demonstration videos help, but cannot tell you exactly how a handle will feel in your own hand. Avoid treating a seller’s universal claims as evidence of a universal fit.
Keep the aid if it reduces the difficult part of the task without moving that difficulty elsewhere. Skip it if cleaning, squeezing or retrieving it recreates the same obstacle. The goal is not a drawer full of helpful-looking objects. It is a task that asks less of you.
Further context: Arthritis Foundation, NHS and RNIB. These organisations do not endorse this site.